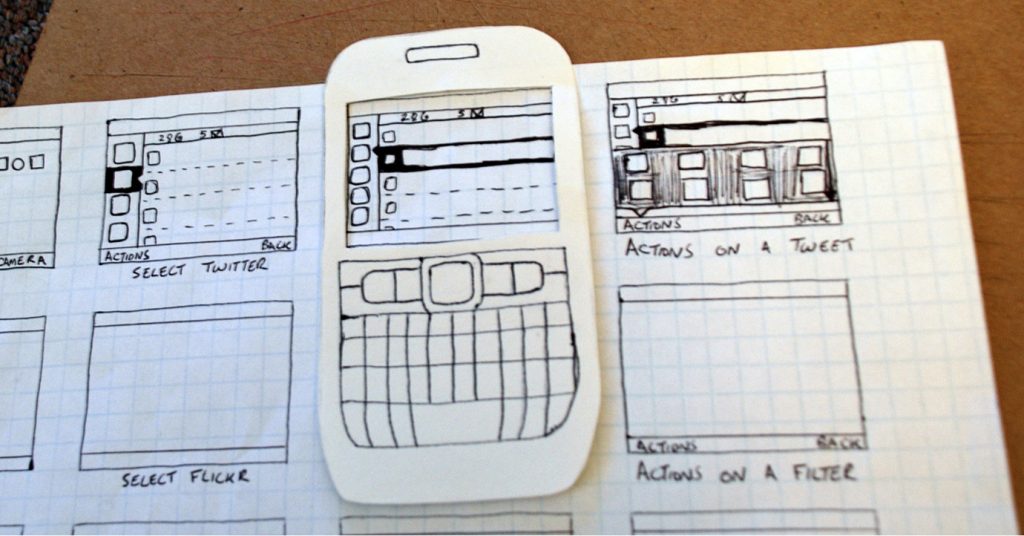
Finally, after days of deliberations, you have landed on an app idea and you are decided to go with it. You want to give shape to your app idea now. But you are still not ready for developing the app. You need to see how the app looks like on a piece of paper. You need a prototype of the app you are going to build. Developing a prototype takes very minimal time.
Prototyping plays a very important role in shaping your idea into a successful mobile app. From prototyping to the final app, there can be other intermediate stages as well. You can build a Minimum Viable Product (MVP) with a minimum number of crucial features and then can add others over a period of time. You can also release a Beta version of the intended app and after incorporating advice and market feedback can build it better into the final marketable app version.
What Exactly Is App Prototype?
An app prototype is basically the conceptual model along with a functional description of the app you are going to build. The prototype is basically created to explain how the intended app will work to your investors and the developers of the app. The prototype will explain how it is going to fulfill the user needs and help the user achieve its objective. It is the first model of your intended app that anyone outside of the developer team can engage with.
The Benefits of Using Prototype
As of now, you must have understood the purpose of using a prototype before building an app. But apart from explaining the app to the developers or investors, there are several other benefits as well. Let us have a look at the key benefits of prototyping.
- It concisely puts your idea into a specific shape with all the functional details.
- When you have a prototype in place, it is unlikely that you can go wrong in explaining the idea to your developers.
- With a prototype in place, you can boost the pace of development as developers have a solid model to follow.
- A prototype can always evolve with new value additions with suggestions from developers.
- Finally, by building a prototype you are actually on the track of developing an app, not just dreaming about it.
Let Us Now Explain The Building Of The App Prototype In Stages.
1. Mind Mapping
Mind mapping is a widely used technique for preparing a design model. It basically helps to put together layers of information around the intended app. Mindmap typically makes the association of ideas and information through words and visual elements. Let us explain the key principles of mind mapping.
- Start afresh with your app ideas and related contents and functions written on a piece of paper.
- Now consolidate those features as per their priority.
- Associate suitable colors with contents and functions.
- Decide the flow of the app with features and functions and the way they should unfold to the users.
- Make multiple options of how the app will flow and unfold to the users.
2. Take Inspiration From Another App
When embarking on your app idea you must have had some successful app of your niche in mind. Obviously, you want to build a unique app in both UI/UX. But apps of a particular niche or category often share some common UI elements and up to that point, you should always take inspiration from your competitors. You can also apply the UI idea of a successful app of a different niche into your app if it really suits the intended user experience.
- Take inspiration from the UI that fits your app idea.
- Never compromise on functionality just because of the look and feel.
- Always keep the successful UI conventions in mind while designing prototype.
- You can copy the design of another app but always focus on making it better with unique inputs.
3. Designing for User Persona
User persona refers to typical characteristics of users who are going to use your app. User persona of an app refers to the dominant user group of the app. Now, your prototype should incorporate design decisions based on this user persona.
- Draw a demographic sketch of your user persona.
- Know the preferences and user habits of your target audience.
- Get to know your user persona better by analyzing the audience of your competitor app.
- Evaluate the design decisions by verifying them with your existing customers.
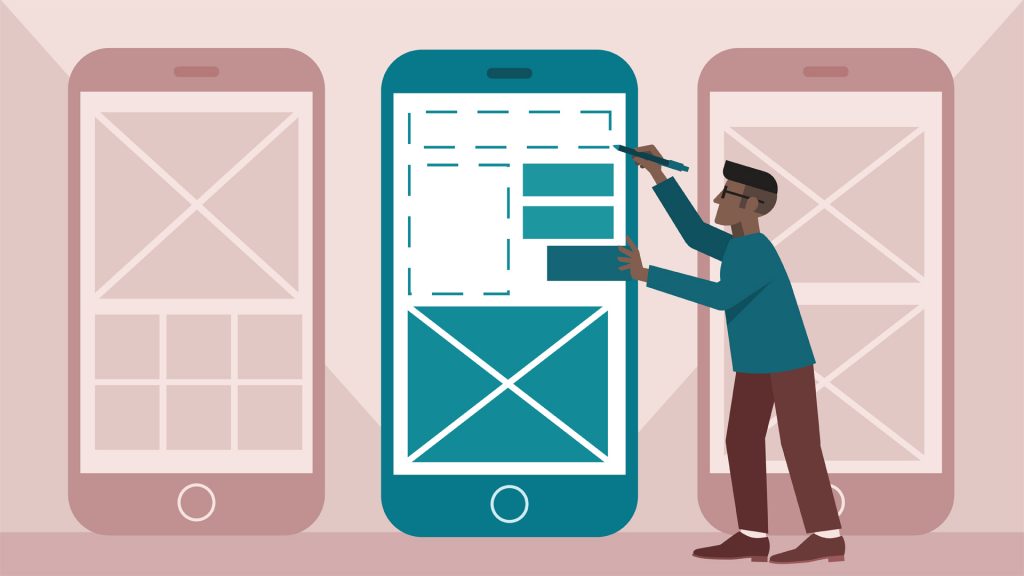
4. Wireframing The Sketches
Just when the sketches of the UI is approved and agreed upon, now you need to shape the mobile app design into wireframes. Now wireframing is a bit more complicated task than sketching your design concept.
- Wireframing will present the buttons, navigation menu and all interactive components on a visual map.
- It will also come with a separate design layout for each page.
- It will also make the perfect proportion of design elements like buttons, content boxes, and menu in relation to the device screen.
- Wireframing will have more finality and precision of design elements compared to simple sketches.
5. Digitize With An App Called POP
POP or Prototyping on Paper is an awesome app that you can download from both Google Play Store or from Apple App Store. You can take snaps of your drawings and upload them to present all of them in an app like flow through this tool. After uploading the sketches-out pages you can resize the elements, change their colors and apply the look and feel that suits you. When designing all the pages with the POP app, consider the following aspects.
- How user can navigate to and for?
- How the users can access contents and functions if the app while landing on a particular page?
- How the navigation menu and CTA buttons will work and look in every page?
By deciding the design and navigation elements of every page you should create a detailed workflow for the app.
6. Useful Tools for Prototyping
Apart from doing it on your own, you can also utilize an array of very useful prototyping tools. Many of these tools will help to create the prototypes with the least effort while not missing any of the key principles and practices. Let us shortlist and briefly explain a few of the most effective prototyping tools.
- Mockplus: Mockplus is a faster and easier prototyping design tool for designers and developers to translate ideas into interactive prototypes, test, share and iterate with simple clicks and drag-and-drop.
- Balsamiq: Balsamiq is widely used for wireframing but it is also used for building simple interactive prototypes.
- FlairBuilder: It can quickly and easily turn low-key designs into interactive and robust prototypes just with simple clicks.
- Justinmind: Justinmind comes as the prototyping tool equipped to deliver simulations of activities like swiping, tapping, holding and other gesture controls.
- Pidoco: Pidoco is another fast creating prototyping tool that supports simulations and testing on several mobile devices and does not need separate software support for doing this.
- Moqups: It is a free and very developer-friendly tool allowing you to create prototypes in no time. It comes with tons of pre-built materials to help you design by filling up with common design elements such as placeholders, sliders, content boxes, etc.
- Fluid: Fluid is a tool that comes with a lot of pre-designed elements and contents to use in the prototypes. It supports all mobile platforms including iOS, Android and Windows.
- Proto: Proto.io is a prototyping tool that allows building quick prototypes simulating the final app with all design elements and key functional elements.
- UXPin: UXPin allows you working on prototypes online. It allows creating workable prototypes with clickable elements.
Shaping a great app idea into a perfect app product requires a lot of deliberations, design decisions, and testing. All the above-mentioned practices and popular tools can only help you achieve the perfect design through prototyping.


